 ).
).You can designate a particular job
On the Windows PrintMessenger Install page you can adjust the settings that determine how the PrintMessenger installer looks and operates.
Note:
You might be prevented from
changing settings for some installers if the installer is being built
(indicated by the install in progress icon ).
To configure the Windows PrintMessenger installer settings
1. On the PrintMessenger
page, configure the PrintMessenger settings as needed.
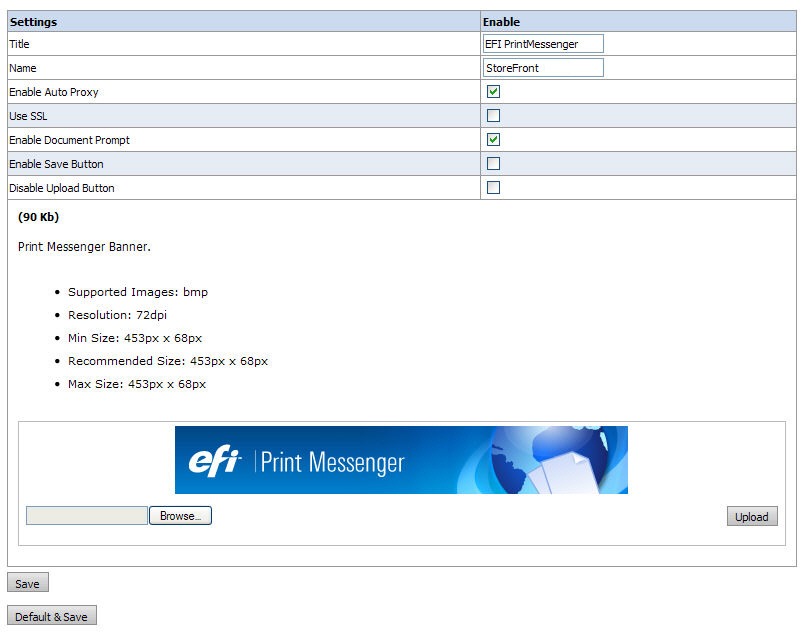
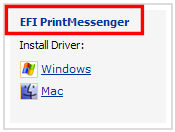
a. Title—Enter a name for the PrintMessenger
print driver that will be displayed for buyers to download on the storefront.
b. Name—Enter the name of the PrintMessenger print driver for your print service that you want to be shown in the list of available printers on the Print dialog (i.e., if the user click File | Print in MS Word).
Note:
It is recommended that you disregard
the following settings:
- Enable Auto Proxy
- Use SSL
- Enable Document Prompt
- Enable Save Button
- Disable Upload Button
2. To specify a banner for the PrintMessenger print driver:
a. Click Browse... and locate the image you want to use as a banner.
Note:
Make sure that the image you select for the banner meets the following
requirements:
Supported Images:
bmp
Resolution:
72dpi
Min Size: 453 pixels
x 68 pixels
Recommended Size:
453 pixels x 68 pixels
Max Size: 453 pixels x 68 pixels
b. Click Upload.
3. Click Save.
Note: To revert to the Windows PrintMessenger's default banner and configuration settings that shipped with your software, click Default & Save.
● Windows eProve (MicroPress v. 8.0.4.0 and older)